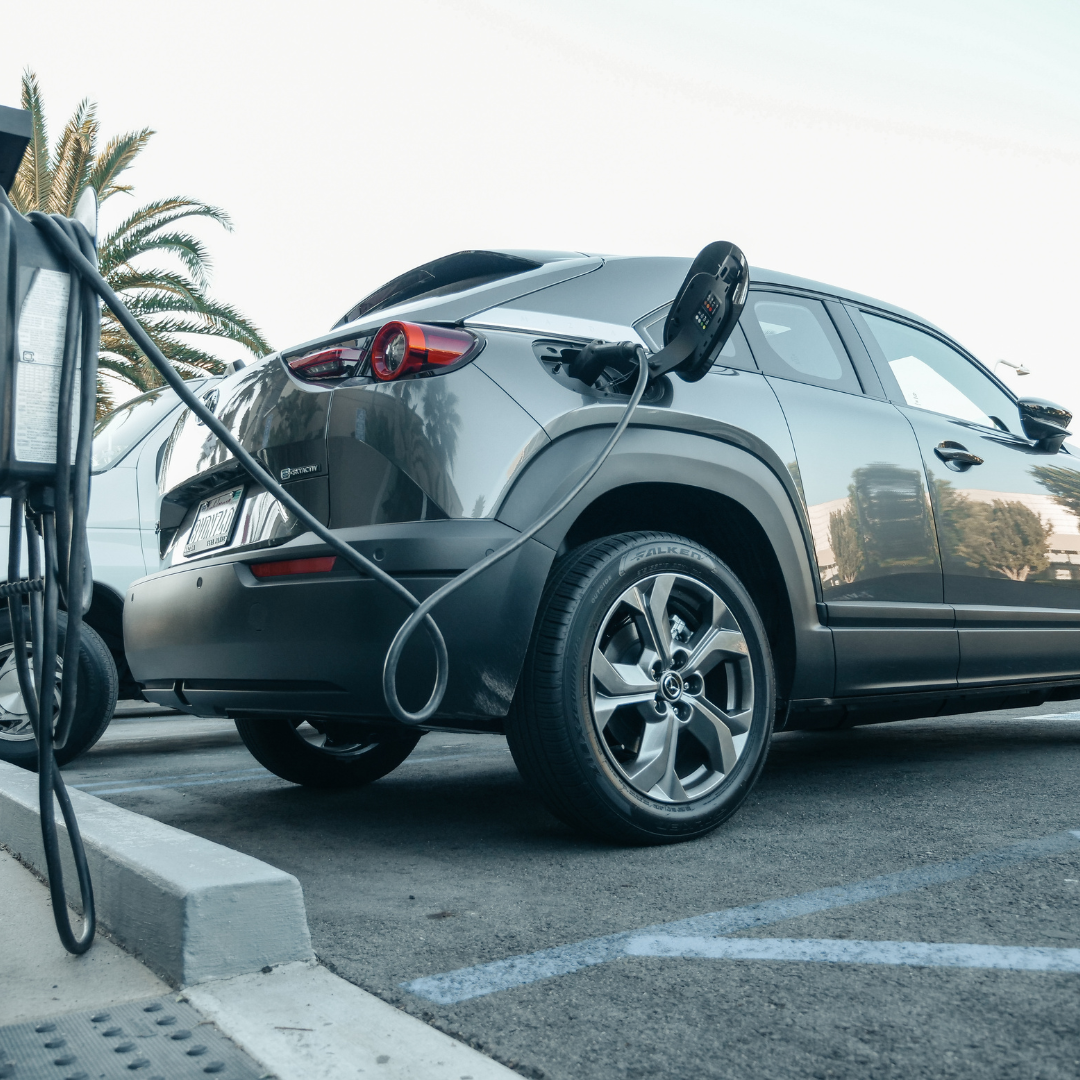
With the rise of electric vehicles (EVs), more and more people are installing charging stations at home. But how exactly does the installation process work? If you’re thinking of getting one installed, you might have some questions about the steps involved and what to expect.
Understanding the Basics
Before diving into the electric vehicle charging installation process, it’s helpful to know the basics. EV chargers come in different types, and the one you choose will depend on your needs, budget, and the type of vehicle you own.
There are three main types of chargers:
- Level 1 Charging – Uses a standard household outlet and doesn’t require any special installation. However, it’s slow, taking several hours or even days to fully charge a vehicle.
- Level 2 Charging – Requires professional installation of a dedicated unit. It provides a much faster charging speed, typically powering up a car within a few hours.
- DC Fast Charging – Mostly found in public charging stations. These are high-powered chargers that can charge an EV very quickly, but they are generally not used for home installations due to their high cost and power requirements.
For most home installations, Level 2 is the ideal choice. It offers a good balance between cost and efficiency.
Step 1: Assessing Your Home’s Electrical Capacity
The first step in the installation process is assessing your home’s electrical system. Not all homes are immediately ready to support an EV charger, especially if it’s a Level 2 charger, which requires a higher voltage (240V) compared to your standard 120V outlets.
A licensed electrician will evaluate whether your electrical panel has enough capacity to handle the additional load of an EV charger. If your panel is already maxed out, you may need to upgrade it, which can add to the cost.
Step 2: Choosing the Right Charger
Once your home’s electrical system has been assessed, the next step is choosing the right charger for your needs. This involves looking at the charging speed you want, your EV’s requirements, and any additional features the charger might offer, such as Wi-Fi connectivity or smart charging capabilities.
Most electricians or EV charger providers will help guide you through this decision. It’s important to choose a unit that is compatible with your vehicle and provides the right charging speed for your day-to-day needs.
Step 3: Installation of the Charging Unit
Now, onto the actual installation. A professional electrician Florence, KY (or one elsewhere) will need to install a dedicated 240V circuit for the charger, which involves running wiring from your electrical panel to the location where you want the charger installed. This is usually the garage, driveway, or carport, but it could also be installed outdoors if needed.
If your charger is being installed outdoors, weatherproofing will be necessary to protect it from the elements. The charger will also need to be mounted securely on a wall or a freestanding pedestal, depending on where it’s placed.
Step 4: Setting Up a Ground Fault Circuit Interrupter (GFCI)
For safety, the installation will also involve setting up a ground fault circuit interrupter (GFCI). This is a safety device that protects against electrical shocks and ensures that the system shuts off if there’s any fault in the wiring.
A GFCI is crucial, especially for chargers installed outside where they may be exposed to water. It ensures that your EV charger operates safely and effectively without posing any electrical hazards.
Step 5: Testing and Final Setup
Once everything is installed, electrical companies like www.sparkproelectrical.co.uk will test the system to ensure it’s working correctly. This involves checking the voltage, making sure the charger communicates properly with your vehicle, and ensuring that the unit is safely secured.
During this step, the installer will likely walk you through how to use the charger, showing you how to connect your vehicle, set charging schedules if your charger supports them, and monitor the charging process.
Step 6: Registering Your Charger (Optional)
Some modern EV chargers come with features that allow you to monitor your charging usage via apps or online portals. If your charger offers smart features, you’ll likely need to register it with the manufacturer and connect it to your home Wi-Fi.
These apps allow you to track your energy consumption, set charging times to take advantage of off-peak electricity rates, and even get notifications when your car is fully charged. While it’s an optional step, many people find it convenient to take advantage of these features.
How Long Does Installation Take?
The length of time for the installation depends on several factors, including:
The complexity of the installation
If your home’s electrical panel is already equipped to handle the charger, installation is fairly straightforward and can be completed within a few hours. However, if an upgrade is needed or if the charger is being installed far from the electrical panel, the process could take longer.
Location of the charger
Installing a charger inside your garage or close to your electrical panel is typically quicker than installing it outdoors or far from your home’s power source.
On average, a standard Level 2 charger installation takes about 3 to 6 hours.
Wrap-Up: Getting Ready for Your EV Charger Installation
Installing an EV charger at home isn’t as complicated as it might sound, but it’s definitely a job that requires professional expertise. From assessing your home’s electrical system to choosing the right charger and ensuring everything is safely installed, each step is important.
If you’re considering an EV charger installation, make sure to consult with a licensed electrician who can guide you through the process and ensure that your home is ready to support your new electric vehicle. That way, you can enjoy fast, efficient charging from the comfort of your own home.

